

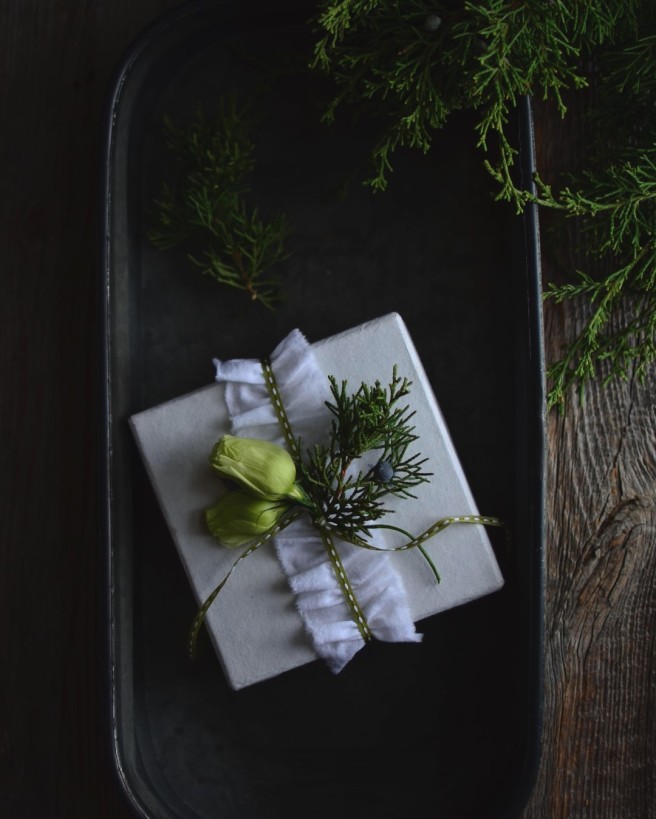
I’ve shown you how to make a hand-torn ribbon. Today, I’ll show you how to turn it into a ruffle. You can then use the ruffled ribbon to add a touch of whimsy to just about any of your creative projects. I’ve used it here for gift wrapping. Note, the green ribbon is a separate ribbon altogether.
- Start with a ribbon that’s 1.5 to 2 times longer than the desired length of the finished ruffled ribbon. (The longer the ribbon you start with, the fuller the ruffles will be.)
- Next, you will need to sew a basting stitch lengthwise, along the center of the ribbon. Don’t worry, you need not be an expert at sewing for this.
Using a sewing machine: Increase the stitch length and sew a basting stitch lengthwise along the center of the ribbon. Be sure to leave the tails of the thread long. Once the sewing is done, pull the thread below to gather the ribbon. You may knot both ends once you are done to keep the ruffle from undoing itself.
By hand: Start at one end of the ribbon and knot the thread at the center. Continue by sewing a simple back and forth stitch that’s roughly 1/4-inch stitch length. Pull on the thread at the finishing point to gather the fabric. You may knot it to keep the ruffle from undoing itself.

So cute!! I totally want to try this!!
XO, MK
https://mackenziekateri.com/
Thank you darling!
THis makes for such beautiful and elegant packaging!!!
Thank you Ruth!
Very nice, Annika!
Thank you Rini!
This is very pretty Annika!! xo
Thank you Ursula!
Gorgeous!!
Thank you!
🙂