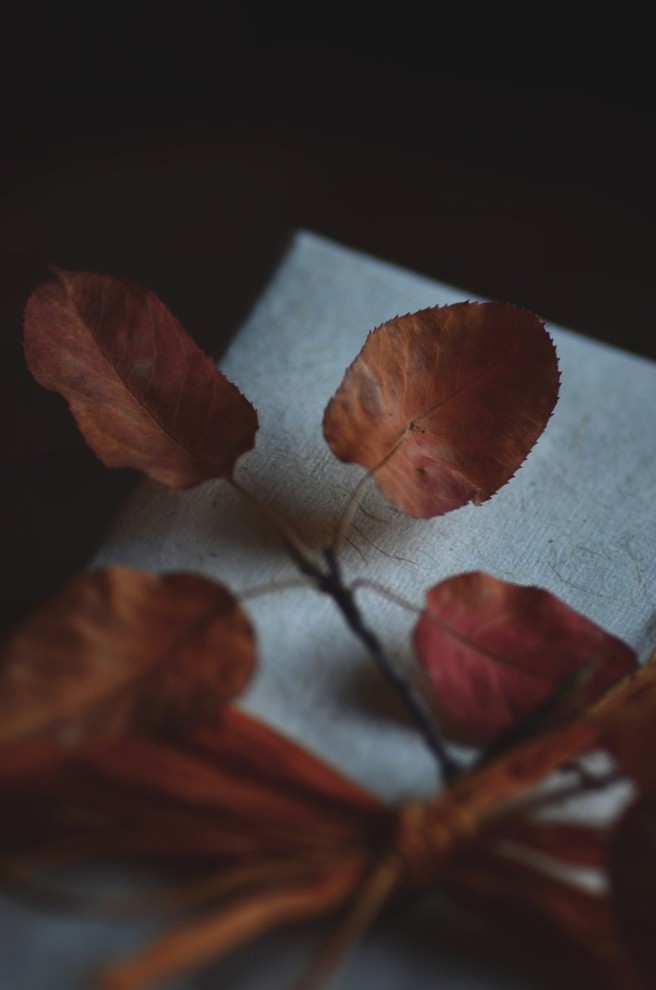
Even what has died is beautiful. —Seyi
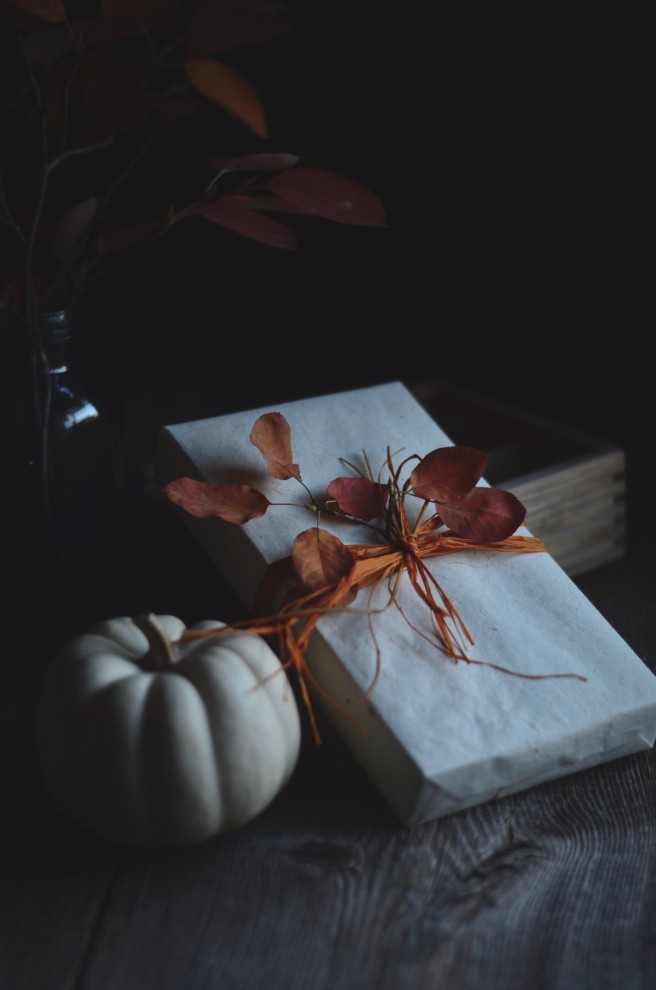
It’s autumn, and here in Montréal, even if you decide to pay no heed, you will find it hard not to see a beautiful transformation taking place. Stealthily and quietly, nature is at work as the Earth continues its journey to complete yet another trip around the Sun and though there may not be any fresh garden flowers to pick, there is still great beauty to be found.
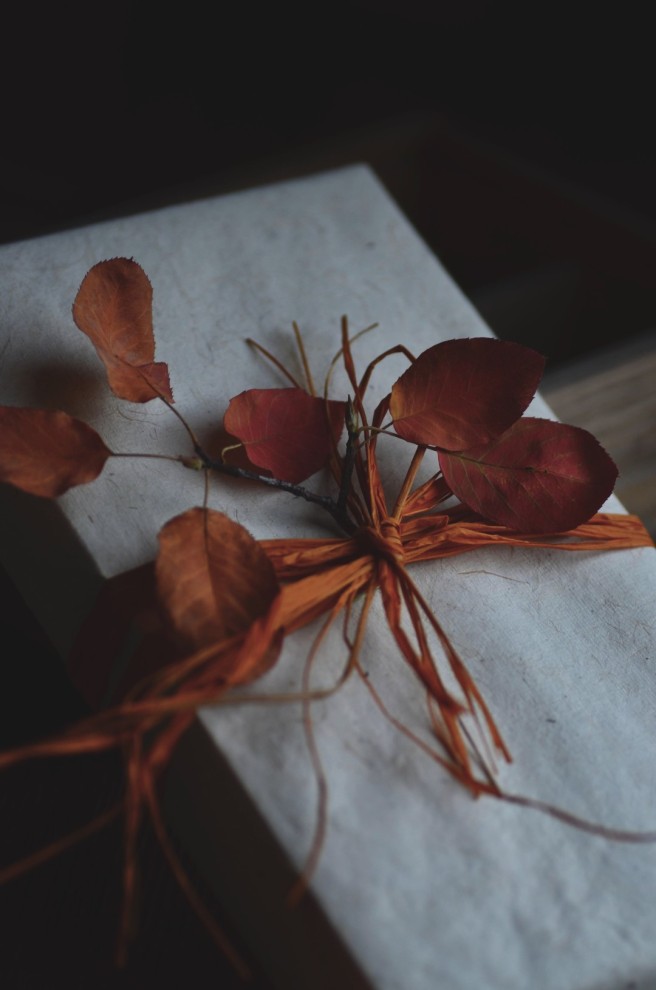
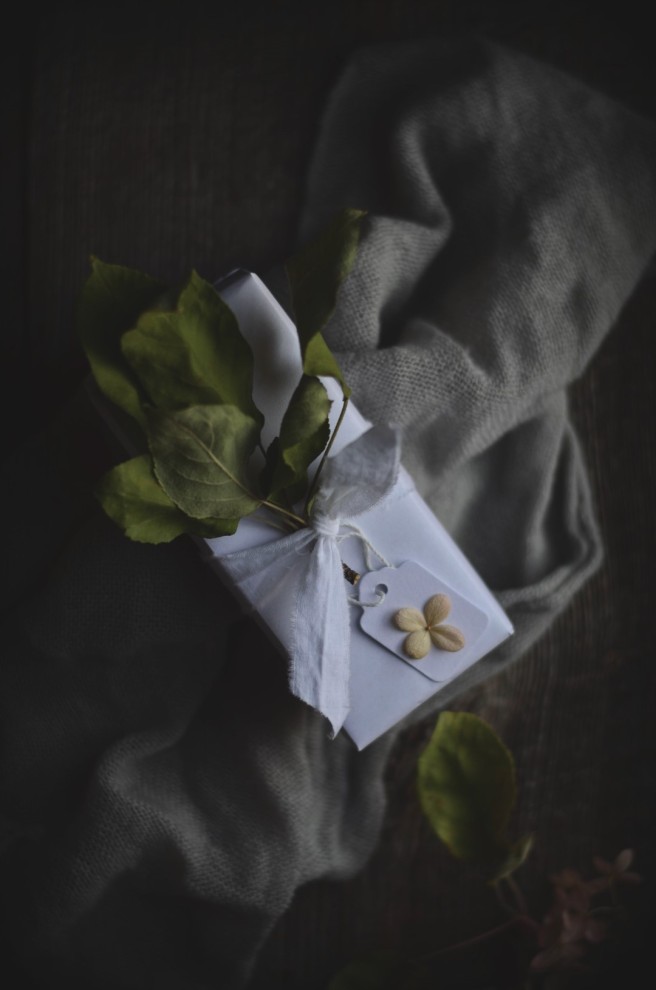
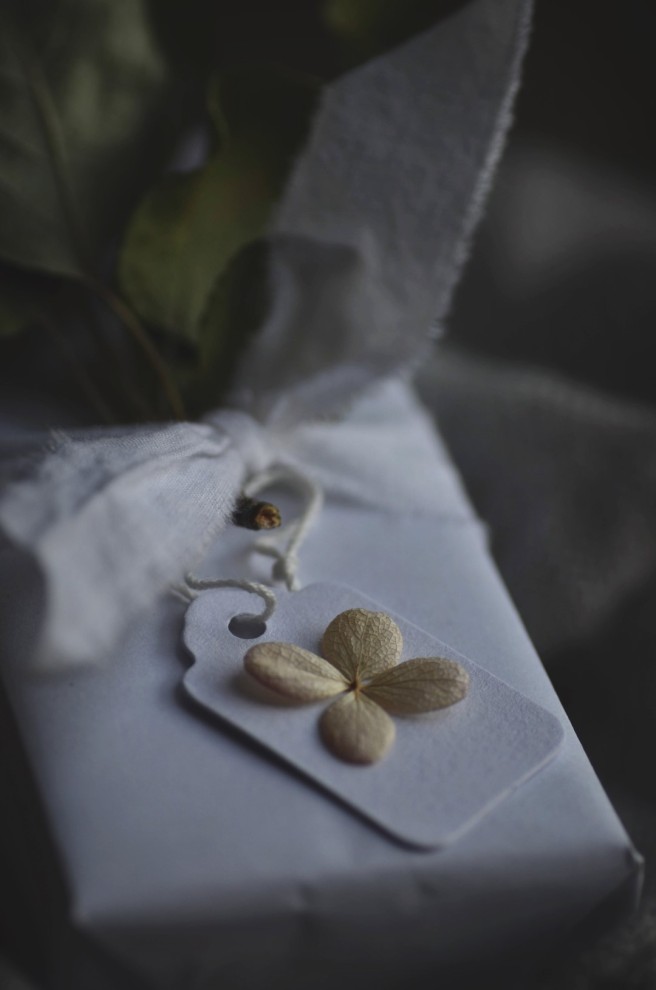
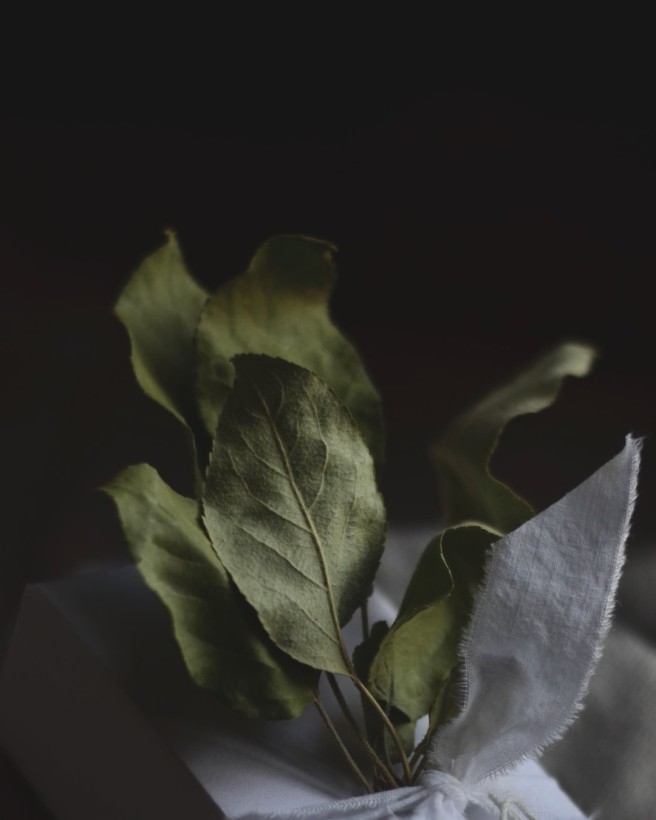
Today’s post shows two examples of autumn-inspired gift wrapping. As well, down below, I show you how to make your own beautiful, hand-torn ribbon, as the one used in the photo below.

How to Make Hand-torn Ribbon
- Using a lightweight fabric is a must. I always use a 100% cotton fabric but other fabrics, such as rayon and silk, may work as well (though you’ll need to experiment for yourself).
- Assuming you start with a rectangular piece of cloth, the length of your ribbon will be equal to the the longest side of your fabric.
- Once you’ve selected the fabric that you would like to use for making ribbons, using sharp fabric scissors, make a cut, about one inch from the edge, of about 2 inches long along the grain of the fabric, parallel to the longest side of the fabric.
- Firmly hold the two sides of the fabric that are on either side of the cut and pull apart until you reached the selvage (the finished edge of the fabric). The fabric will rip along the grain (quite easily), and you will see the first finished edge of your ribbon. Use a scissor to cut through the last connecting bit at the selvage. You may discard the strip of fabric that you have just torn off.
- Make a second cut parallel to the first cut and at the distance equal to your desired width of the ribbon and proceed in the same manner. You will now have your first ribbon. As you can see, it’s the ripping of the fabric that creates the beautiful edge of the ribbon that you just can’t get if you were to use a scissor.
- Continue in the same way to make more ribbons.
- Cut the ends of each ribbon at a diagonal to prevent fraying.
Note and apology: I tried my best to explain… and I’m sorry if it’s not very clear. If you need photos, feel free to let me know in the comments and it will be my pleasure to make a separate post with photos on this! If you do try it… do let me know how it goes!

It is a very advantageous post for me. I’ve enjoyed reading the blog. It is very supportive and useful information. I would like to visit the post once more its valuable content. Thanks for such post and please keep it up.
Beautiful!!
Thank you!
I’m inspired by all your gift wrapping ideas!! So beautiful and simple which is best!
Thank you Amanda. I’m with you, simple is best and it’s often beautiful that way as well!
Great post Annika – you have a hidden talent there!
Haha.. thank you Laura!
I love this idea. I want to try it myself.. tons of foliage in my yard!
And it won’t cost a thing! Thank you!
Beautiful 😍 xo
Thank you! xx
This is such a gorgeous way of wrapping gifts, I really love this! Beautiful pictures and I have to try this some time. Maybe as a surprise for my mom who will be spending Christmas with us this year, she does similar gift wrapping!☺
Oh lucky you to have a wonderful Christmas planned. Yes, you can use this idea for Christmas gifts as well! Thank you!
Always beautiful to see your craftsmanship ☺
Aww…. so sweet. Thank you Myra!
Beautiful article Annika!
Thank you dear Sasha!
Nice to use autumn leaves, it really makes us feel connected to the nature !!
Yes, I always just look around in nature to see what I can use… there’s always something beautiful to find!